Hello World! Build your first front-end app to interact with a smart contract in Ethereum
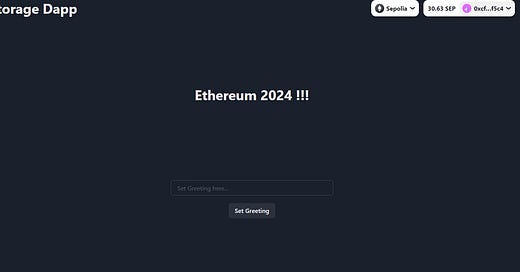
Creating the front-end to interact with a smart contract in Ethereum is not trivial. In this post, we will provide a front-end demo and a walkthrough of the front-end code.
Front-end demo: here
Github repository: here
Step 0: Prepare a smart contract address
In this example, we will interact with this HelloWorld smart contract which has been deployed in Sepolia (0x8499e4A713b5AAC95e4509Fd421350dB4C0b6596). We will have another post to walkthrough the steps to deploy a smart contract in the future.
/**
 *Submitted for verification at Etherscan.io on 2023-11-08
*/

// SPDX-License-Identifier: MIT
pragma solidity ^0.8.20;

contract HelloWorld {
    string greeting = "Hello World!";

    function getGreeting() public view returns (string memory) {
        return greeting;
    }

    function setGreeting(string memory s) public {
        greeting = s;
    }
}
Step 1: Prepare a front-end app connected with Web3 wallet using RainbowKit and wagmi
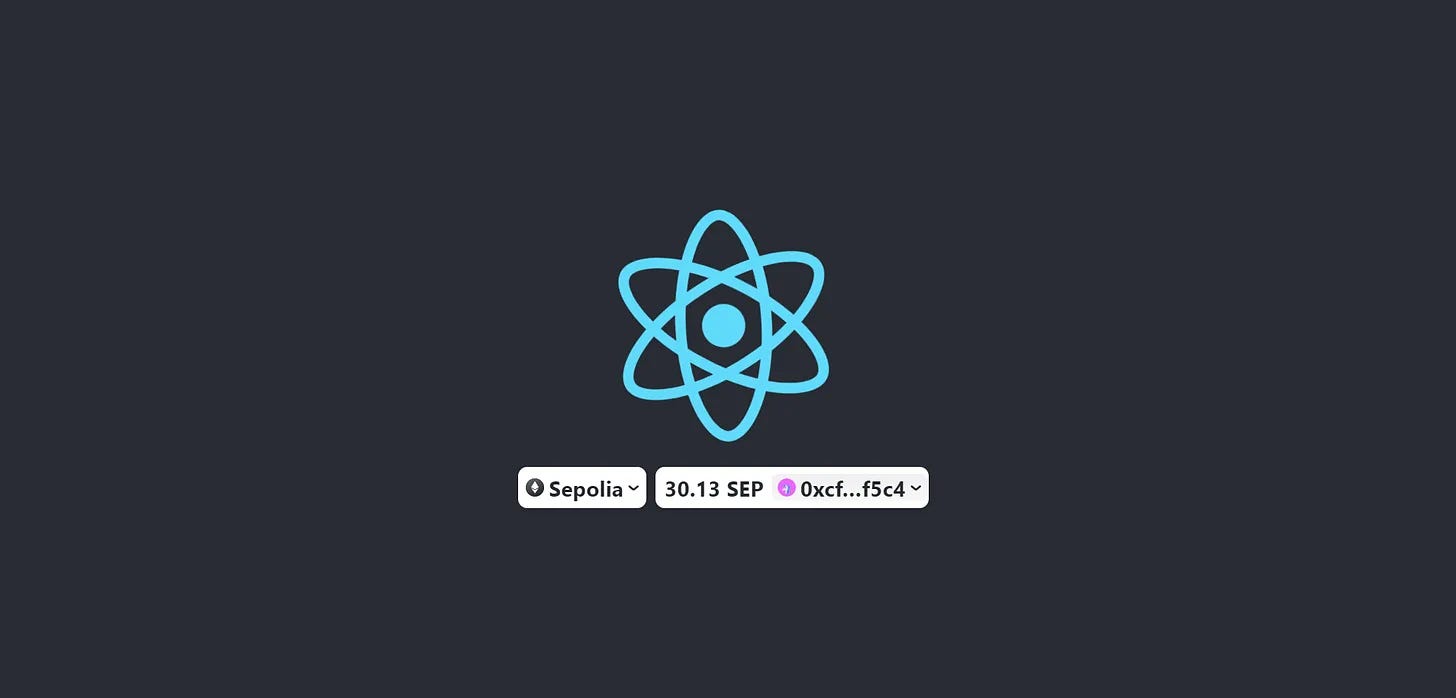
After completing the steps detailed in this post, you will have the front-end successfully conntected to your Web3 wallet as follows. Let’s name this app storage-dapp.
Front-end demo: here
Step 2: Remove the logo.svg and App.js
import { ConnectButton } from "@rainbow-me/rainbowkit";

function App() {
  return (
    <div>
      <ConnectButton />
    </div>
  );
}

export default App;
Step 3: Install chakraUI
Chakra UI is a simple, modular and accessible component library that gives you the building blocks you need to build your React applications.
yarn add @chakra-ui/react @emotion/react @emotion/styled framer-motion In index.js, you should import the following.
import { ChakraProvider } from "@chakra-ui/react";and remove this line
import "./index.css";Also, update the code to render app as follows.
root.render(
  <WagmiConfig config={wagmiConfig}>
    <RainbowKitProvider chains={chains}>
      <ChakraProvider>
        <React.StrictMode>
          <App />
        </React.StrictMode>
      </ChakraProvider>
    </RainbowKitProvider>
  </WagmiConfig>
);
Step 4: Create front-end components in App.js
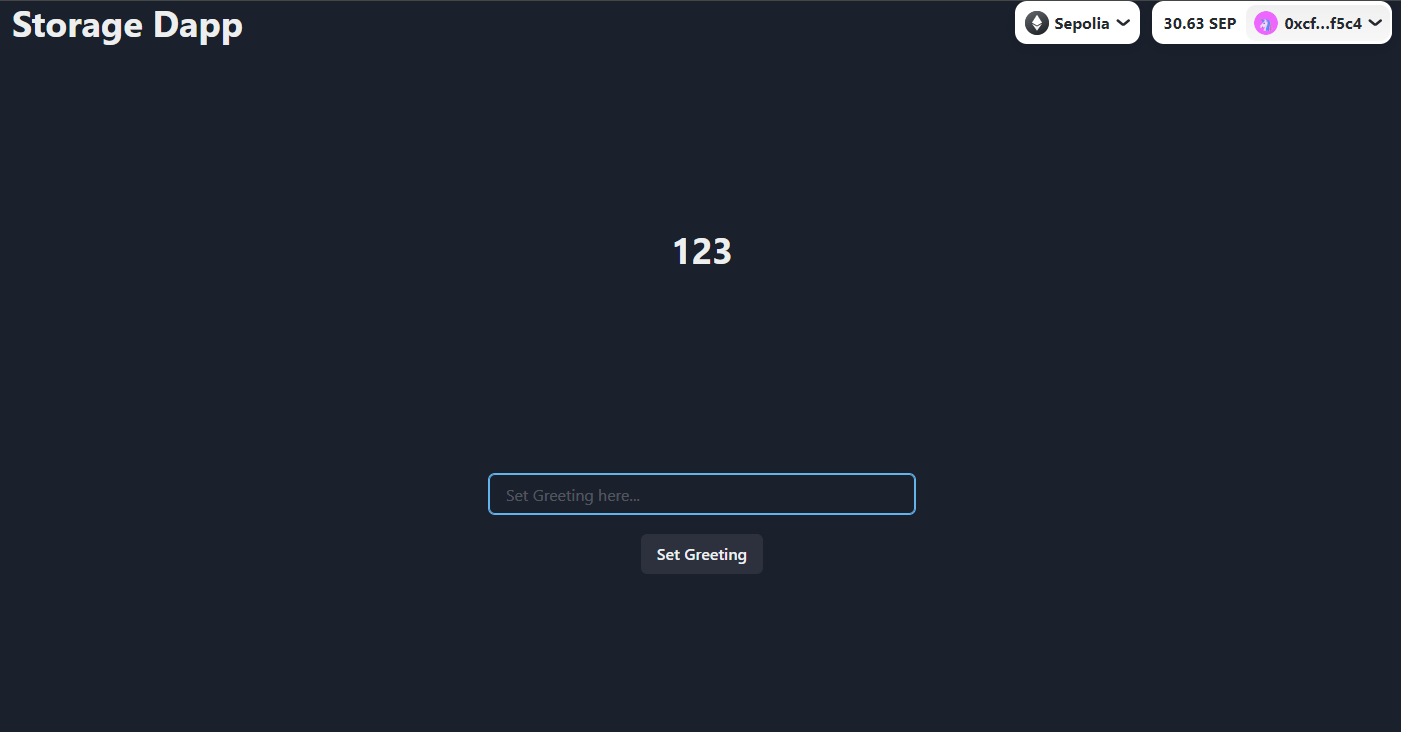
The front-end will look like the below upon successfully completely this step.
Update App.js as follows. The front-end interface will look like the above.
import { Flex, Spacer, Button, Heading, Input, Text } from "@chakra-ui/react";
import { ConnectButton } from "@rainbow-me/rainbowkit";
import { useState } from "react";

import { useAccount } from "wagmi";


function App() {
  const [inputGreeting, setInputGreeting] = useState("");

  return (
    <Flex direction={"column"} height={"100vh"} bg={"#282c34"}>
      <Flex direction={"row"} justifyContent={"space-between"} px={5}>
        <Heading>Storage Dapp</Heading>
        <ConnectButton />
      </Flex>
      <Flex
        direction={"column"}
        justifyContent={"center"}
        alignItems={"center"}
        height={"60%"}
        gap={5}
      >
        <Spacer />
        <Heading>123</Heading>
        <Spacer />
        <Input
          placeholder="Set Greeting here..."
          width={"30%"}
          onChange={(e) => {
            setInputGreeting(e.target.value);
          }}
        />
        <Button>Set Greeting</Button>
      </Flex>
    </Flex>
  );
}

export default App;
Step 5: Create MyContract.js
Create MyContract.js within the src folder which will store the address and abi of the deployed contract (0x8499e4A713b5AAC95e4509Fd421350dB4C0b6596)
const address = "0x8499e4A713b5AAC95e4509Fd421350dB4C0b6596";
const abi = [
  {
    inputs: [],
    name: "getGreeting",
    outputs: [{ internalType: "string", name: "", type: "string" }],
    stateMutability: "view",
    type: "function",
  },
  {
    inputs: [{ internalType: "string", name: "s", type: "string" }],
    name: "setGreeting",
    outputs: [],
    stateMutability: "nonpayable",
    type: "function",
  },
];

export { address, abi };
Import this file within App.js
import { address, abi } from "./MyContract";Step 6: Read contract using useContractRead Hook
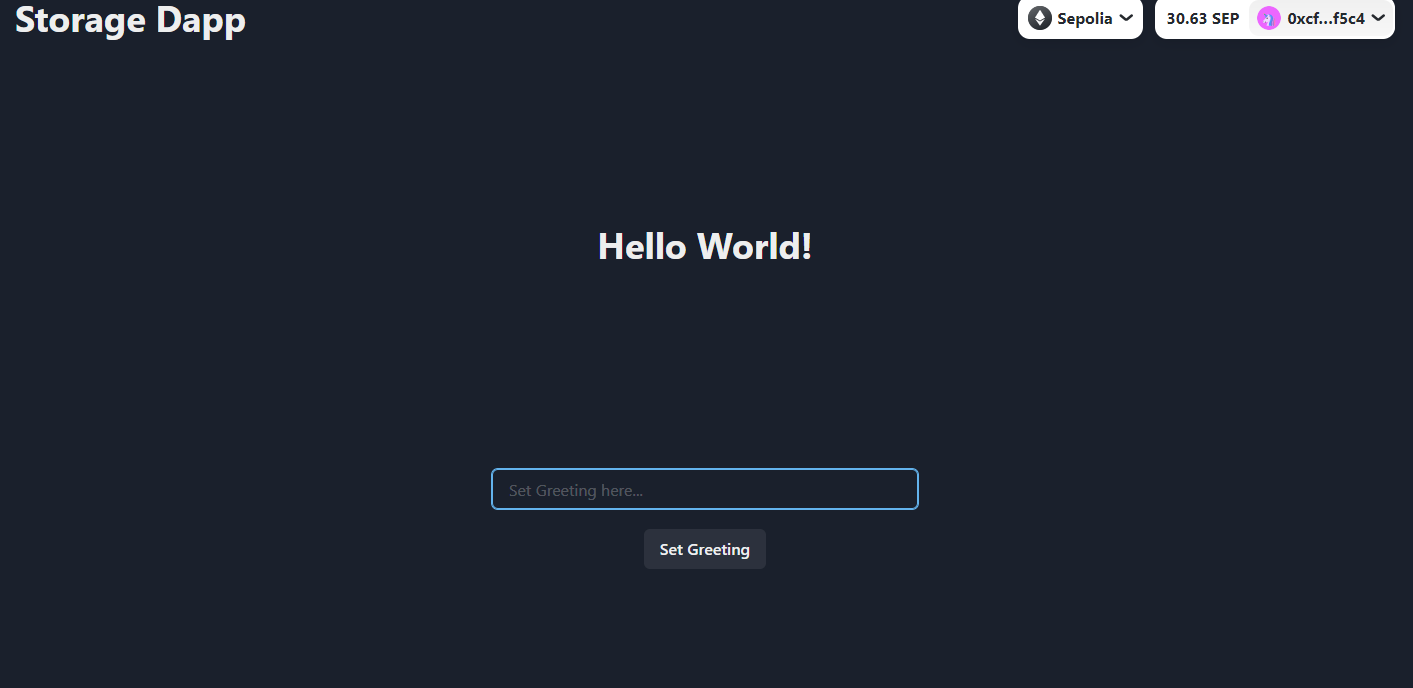
The front-end will look like the below upon successfully completely this step.
import the useContractRead hook from wagmi.
import { useContractRead } from "wagmi";add the useContractRead hook within the app function
function App() {
...
  const { data: contractGreeting } = useContractRead({
    address: address,
    abi: abi,
    functionName: "getGreeting",
    watch: true,
  });
...
display the data in the front-end
<Heading>123</Heading>
<Heading>{contractGreeting}</Heading>
Step 7: Write contract using useContractWrite Hook
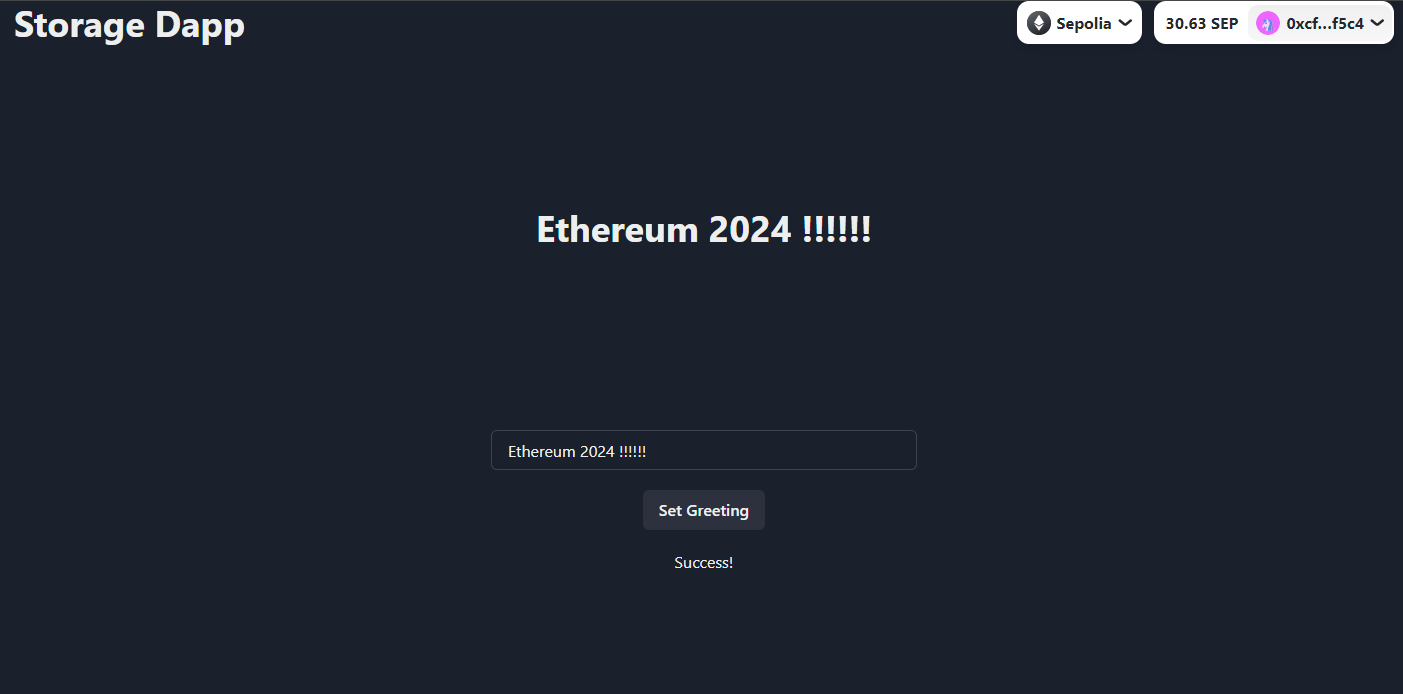
The front-end will look like the below upon successfully completely this step.
import the useContractWrite hook from wagmi.
import {
  useContractRead,
  usePrepareContractWrite,
  useContractWrite,
  useWaitForTransaction,
} from "wagmi";
add the following hooks
function App() {
...
const {
    config: writeConfig,
    error: prepareError,
    isError: isPrepareError,
  } = usePrepareContractWrite({
    address: address,
    abi: abi,
    functionName: "setGreeting",
    args: [inputGreeting],
  });

  const {
    data: writeData,
    error: writeError,
    isError: isWriteError,
    write,
  } = useContractWrite(writeConfig);

  const { isLoading, isSuccess } = useWaitForTransaction({
    hash: writeData?.hash,
  });
...
finally update the return within App.js as follows
  return (
    <Flex direction={"column"} height={"100vh"} bg={"#282c34"}>
      <Flex direction={"row"} justifyContent={"space-between"} px={5}>
        <Heading>Storage Dapp</Heading>
        <ConnectButton />
      </Flex>
      <Flex
        direction={"column"}
        justifyContent={"center"}
        alignItems={"center"}
        height={"60%"}
        gap={5}
      >
        <Spacer />
        {!isConnected && <Heading>Please connect to your wallet</Heading>}
        {isConnected && <Heading>{contractGreeting}</Heading>}
        <Spacer />
        <Input
          placeholder="Set Greeting here..."
          width={"30%"}
          onChange={(e) => {
            setInputGreeting(e.target.value);
          }}
          isDisabled={!isConnected}
        />
        <Button
          isDisabled={!isConnected || !write || isLoading}
          onClick={write}
        >
          Set Greeting
        </Button>
        {isSuccess && <Text>Success!</Text>}
        {(isPrepareError || isWriteError) && (
          <Text> {(prepareError || writeError)?.message}</Text>
        )}
      </Flex>
    </Flex>
  );
